Creating a Job
Creating a Job
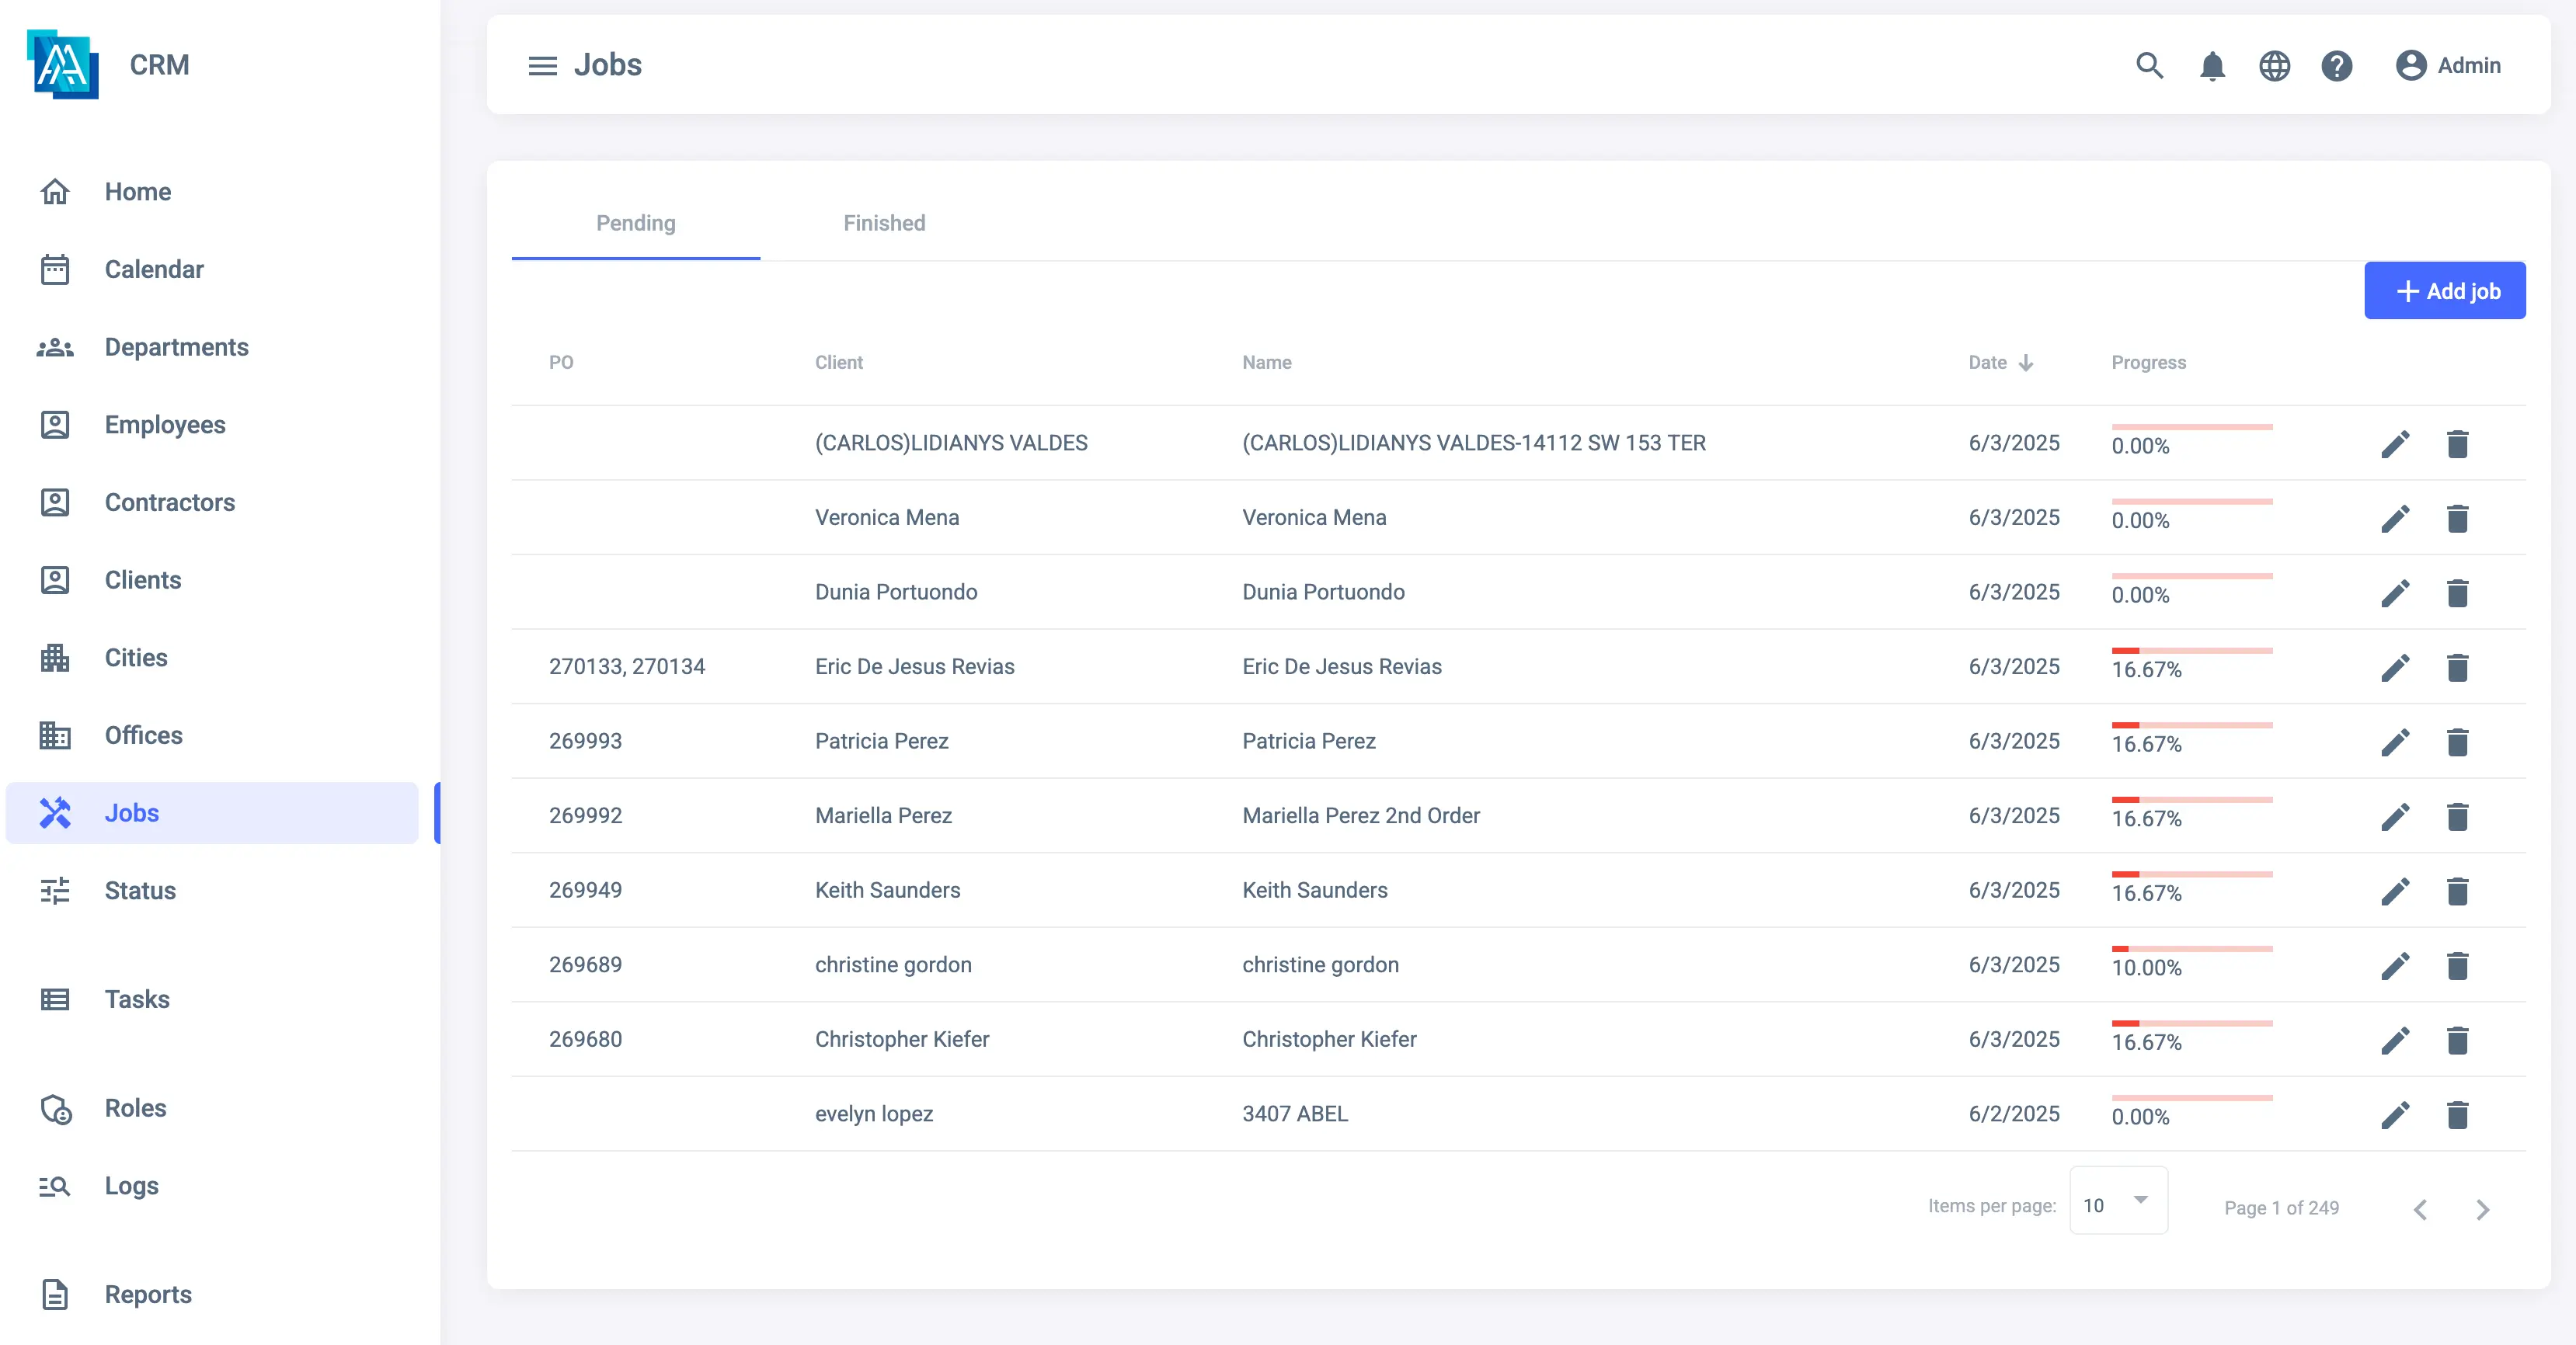
Jobs are the main entities in the CRM, and they are used to group Events, Employees, and Clients. This guide will show you how to create a Job.
How to Create a Job
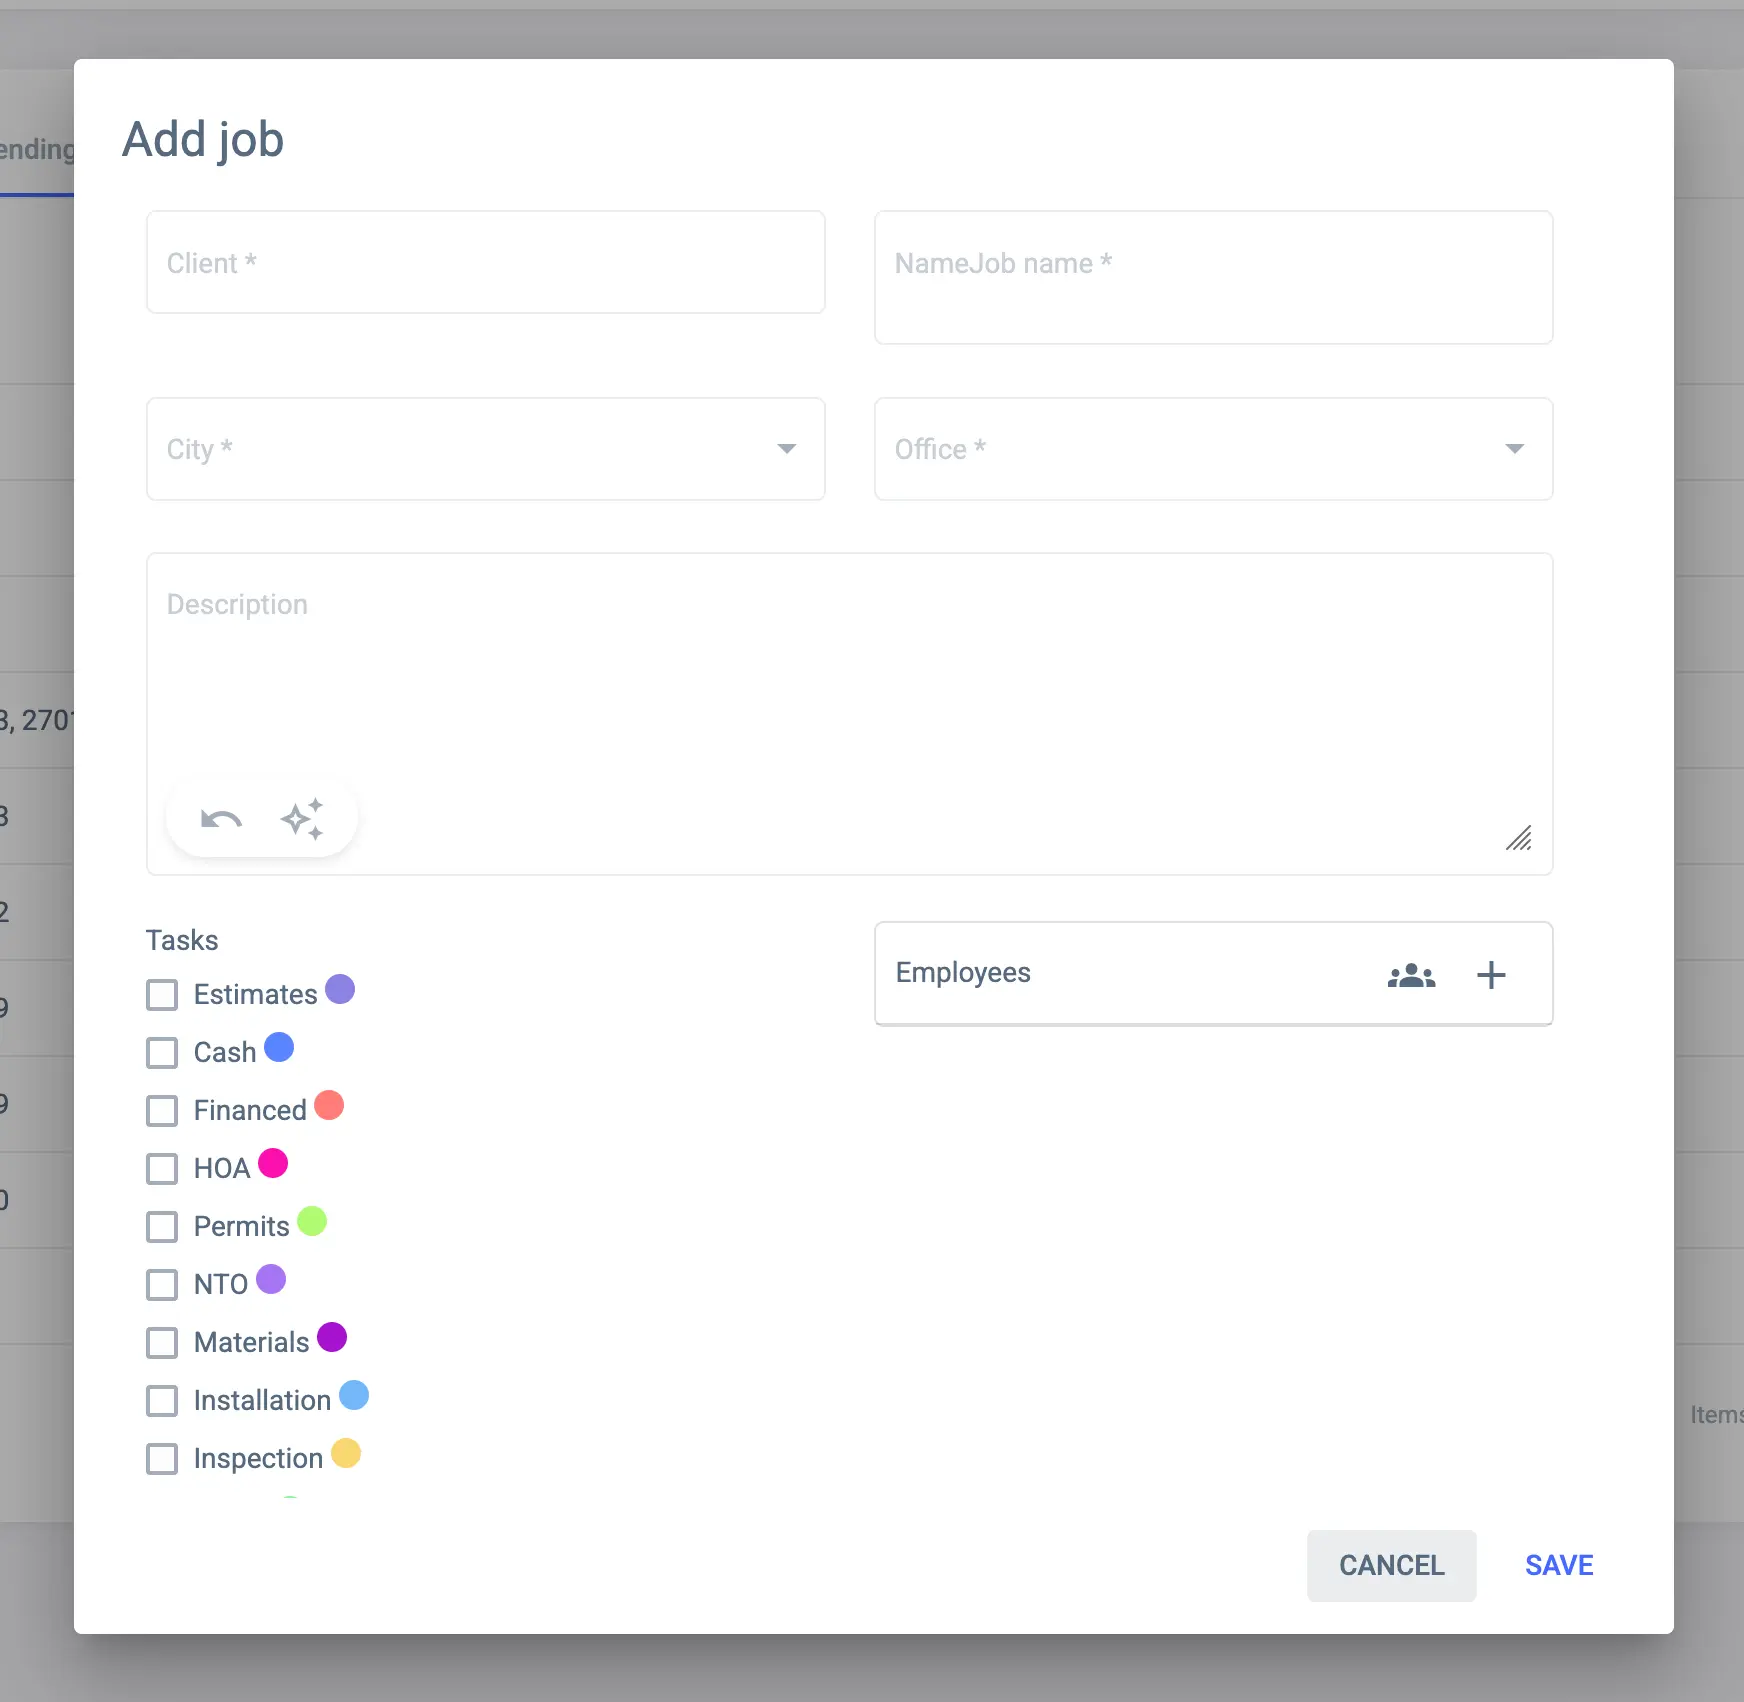
To create a Job, click on the ”+” button located at the top right corner of the screen. This will open the “Add Job” view, where you can fill in the details of the Job you want to create.
Name and Description
The first fields to fill in are the name and description of the Job. The name is a required field, while the description is optional.
Employees
You can assign the Job to one or more employees. At least one employee must be assigned to a Job, but you can add as many employees as you want. This is useful to notify the employees involved in the Job. You can also assign a whole department to the Job, which will assign all employees in that department to the Job.
Client Selection
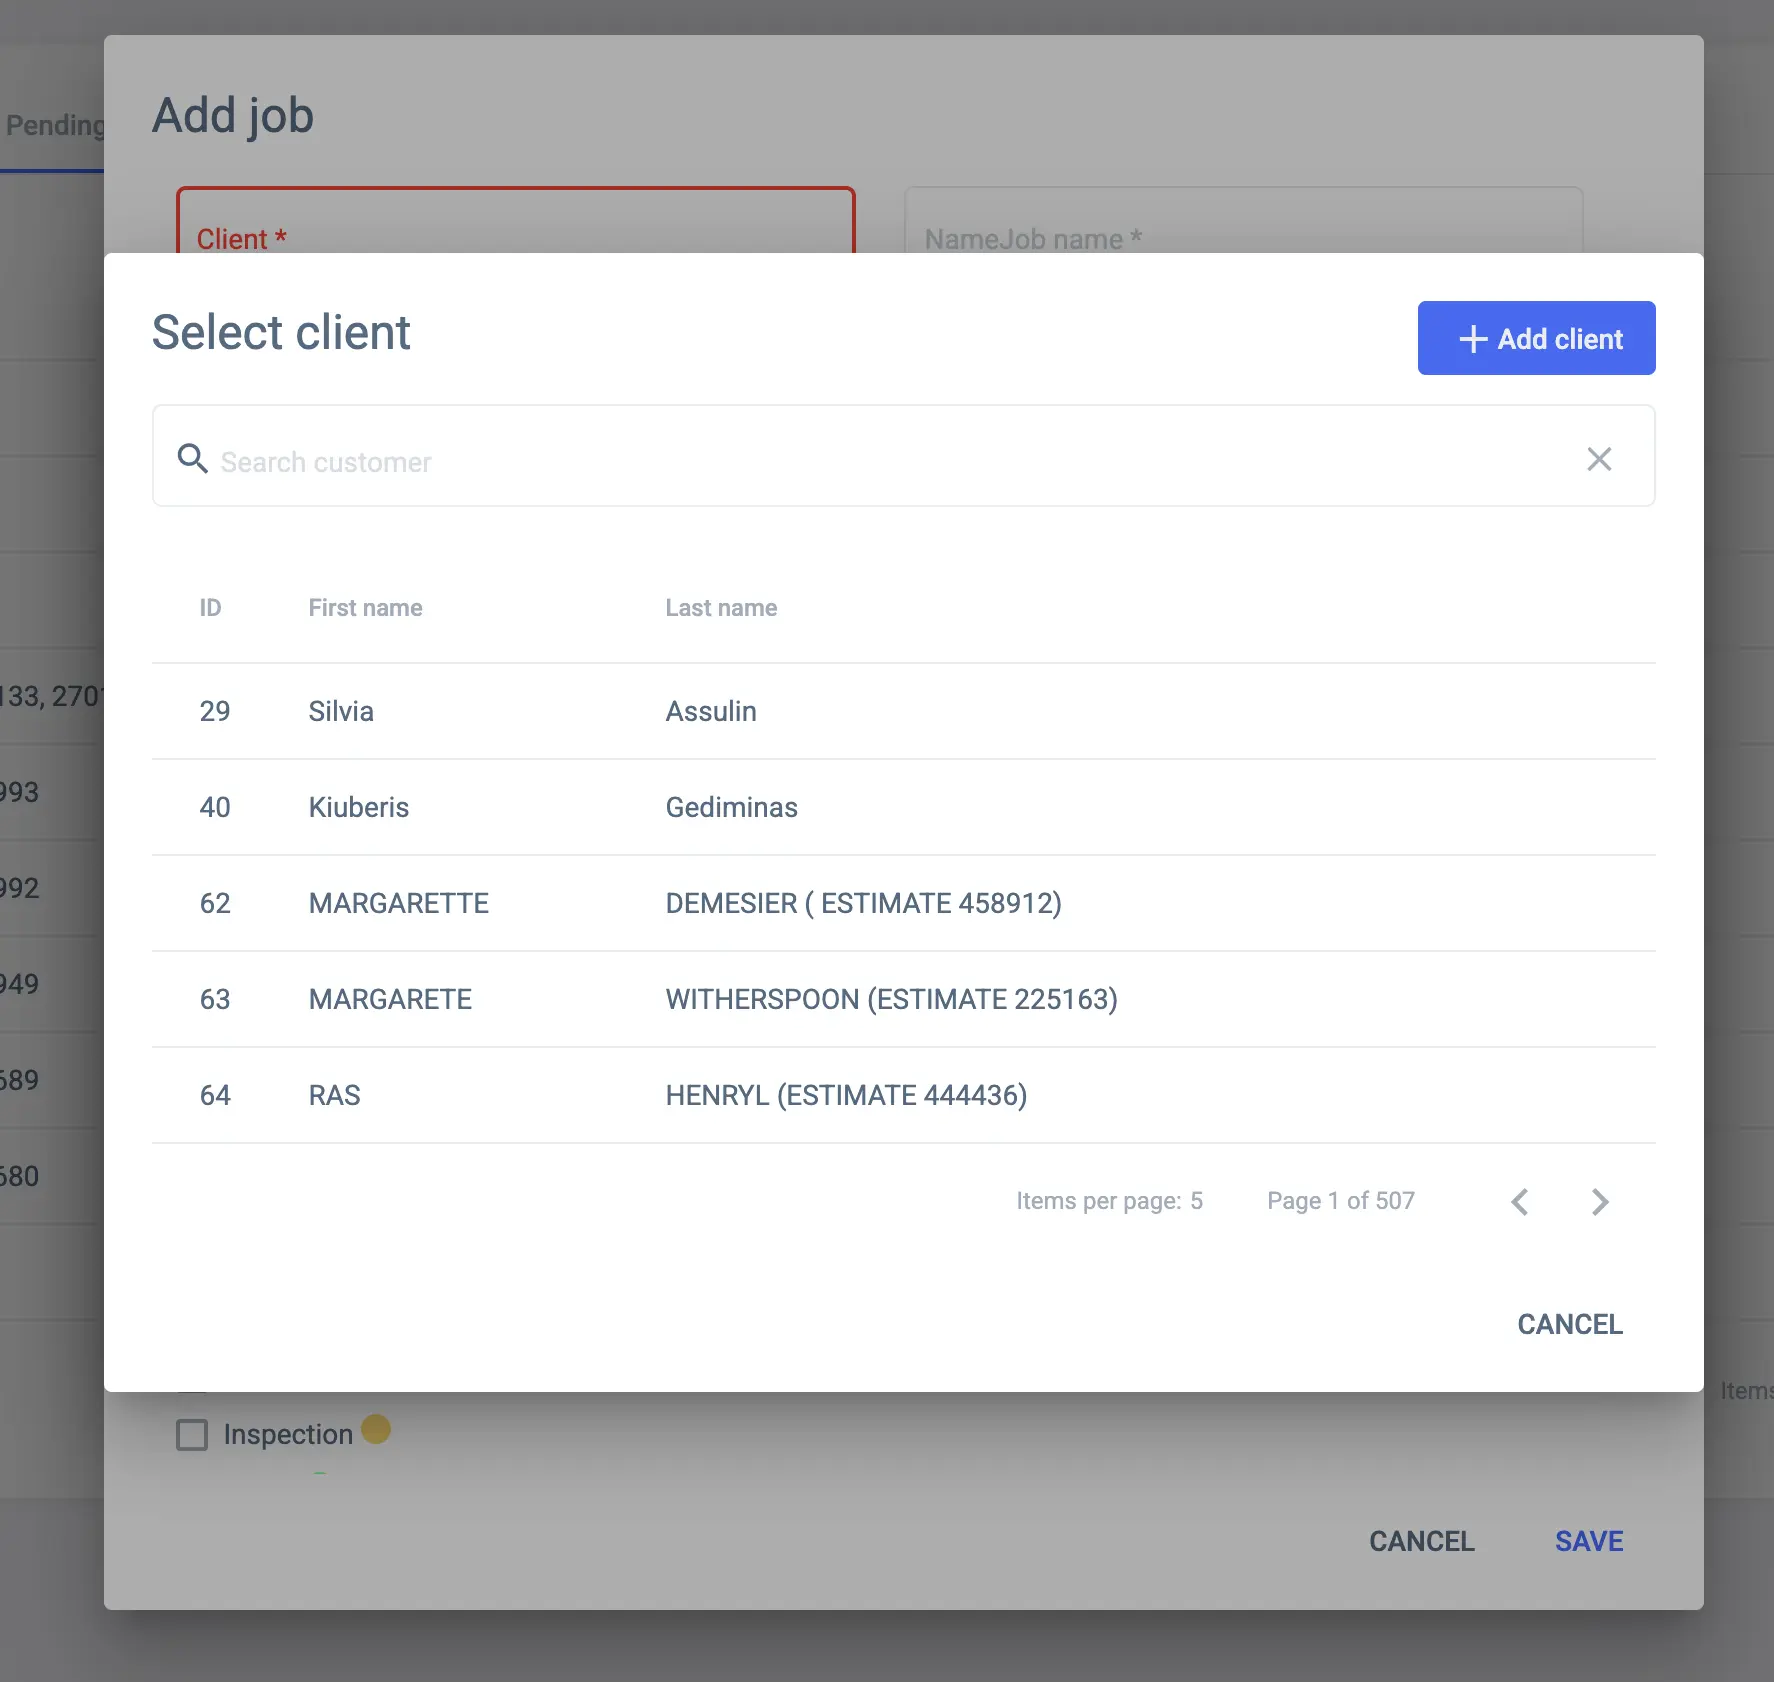
The next step is to select the Client associated with the Job. Click on the Client Field to open the Client selection modal.
Location Selection
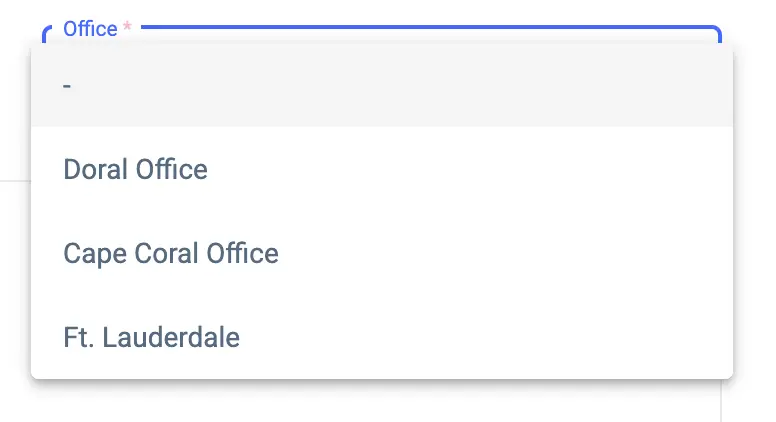
You can also select the location of the Job. This is useful for Jobs that are associated with a specific location, such as a construction site or an office.
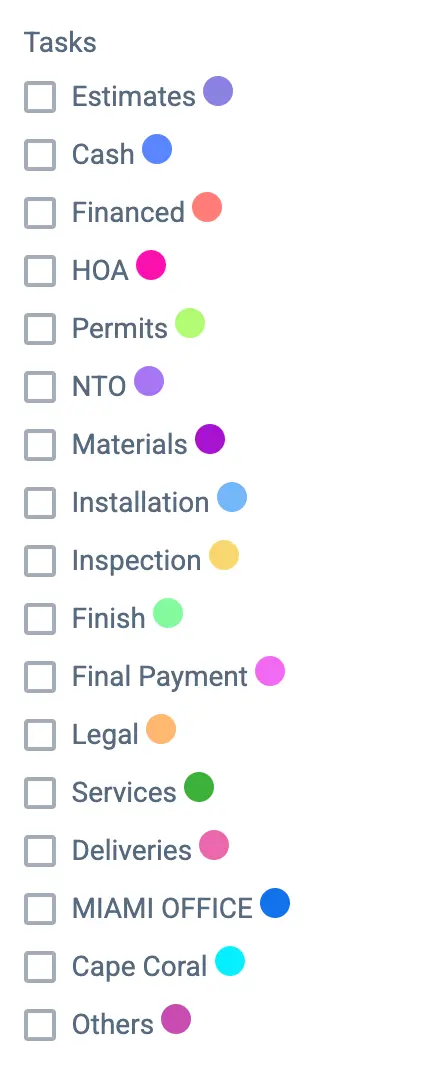
Tasks
Tasks refer to the different stages or steps that need to be completed within a Job. You can add multiple tasks to a Job, and each task can group multiple events. This is useful for tracking the progress of a Job and ensuring that all necessary steps are completed.
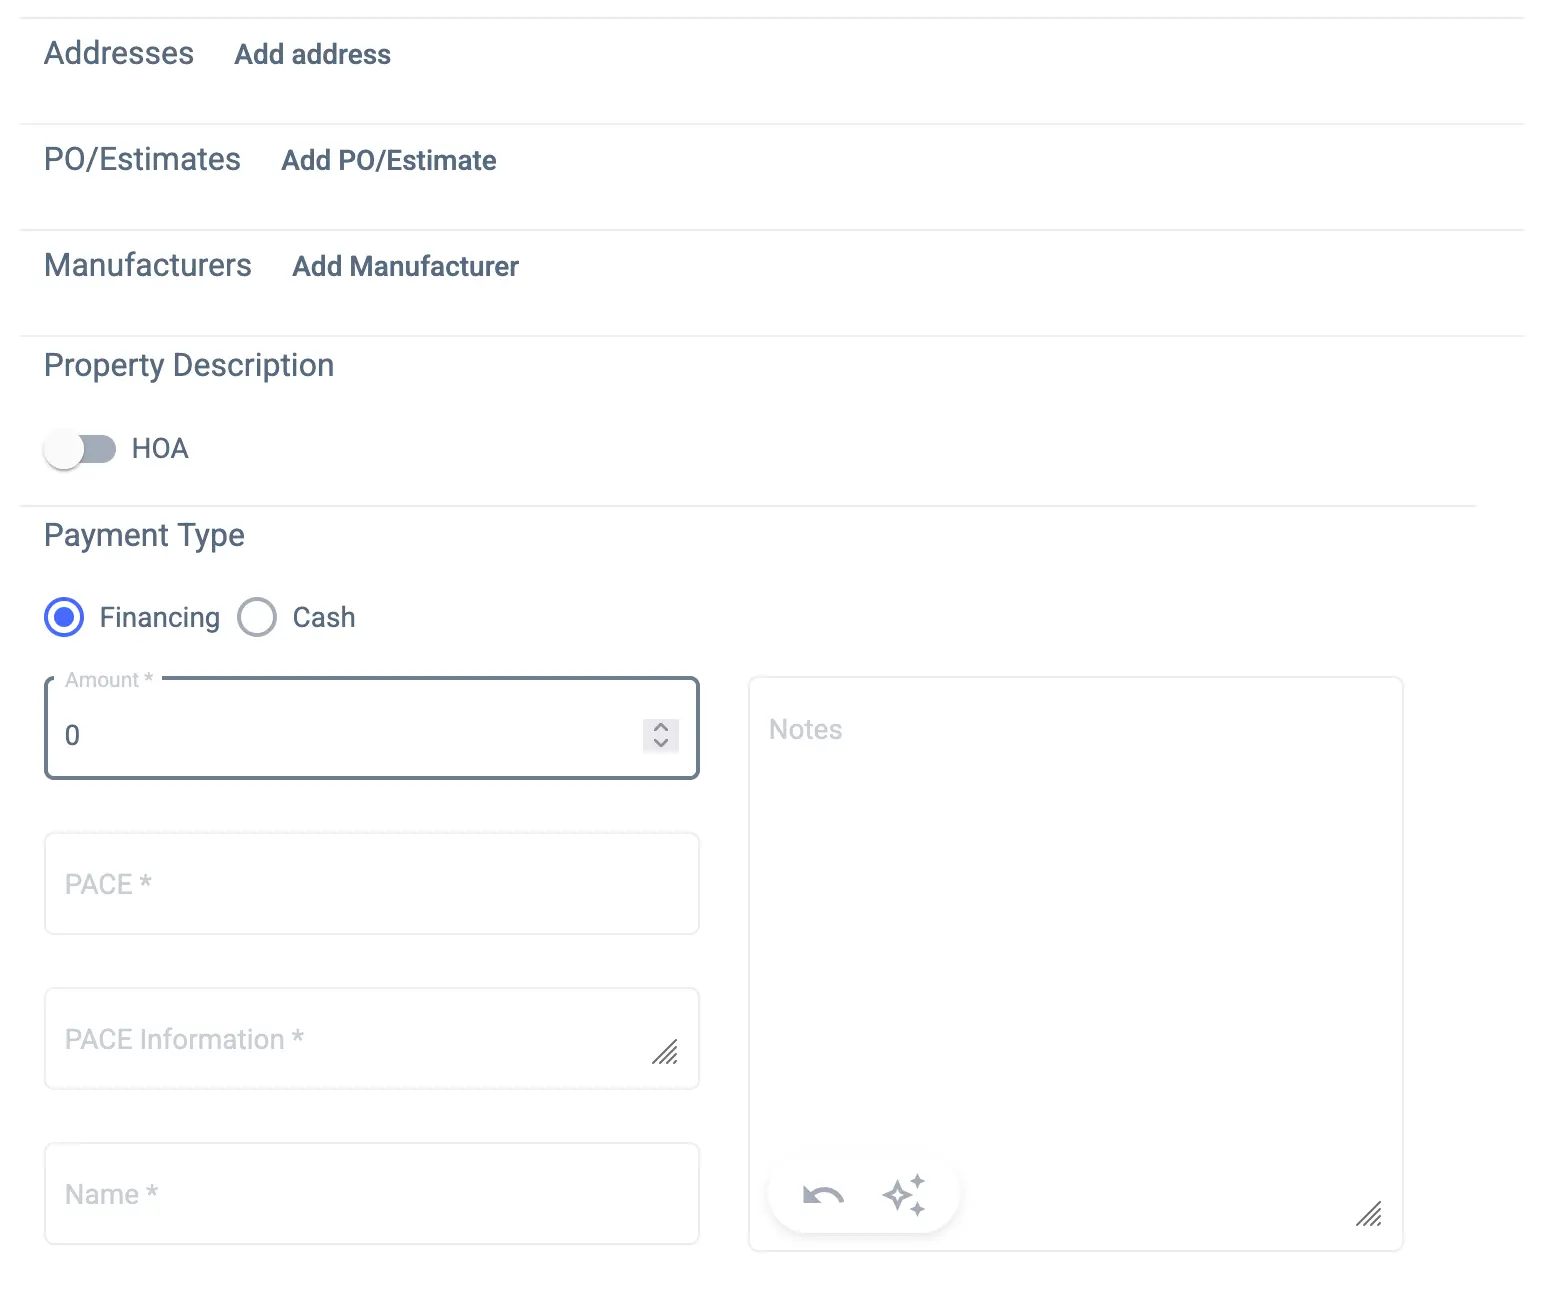
Other details
You can also add other details to the Job, such as the Address, Property Type, and payment Information. These fields are optional, but they can be useful for providing more information about the Job.
Save the Job
Once you have filled in all the details, click on the “Save” button to create the Job. The Job will be created, and you will be redirected to the Job details page.